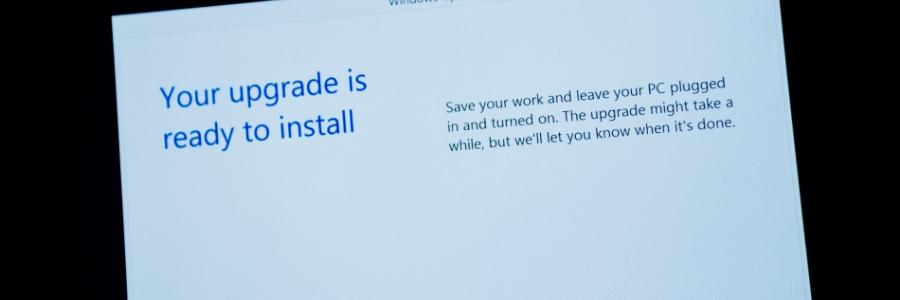
What is a Windows in-place upgrade install?
A Windows in-place upgrade refreshes your operating system without deleting your personal files, settings, or installed applications. By replacing core system files with fresh copies, it can resolve issues caused by corruption, failed updates, or other inconsistencies. An in-place upgrade install is faster and less disruptive than a clean reinstall, making it a go-to solution for many common Windows problems.
When should you consider an in-place upgrade install?
You may consider an in-place upgrade install if you’re experiencing:
- Sluggish performance – long boot times or slow program launches
- System instability – frequent crashes or freezing
- Strange behavior – unusual errors or glitches
- Update troubles – stalled or failed Windows updates
Prerequisites for an in-place upgrade install
Before starting, make sure you meet the following requirements:
- Administrative access – You must be logged in as an administrator to perform the upgrade.
- Windows OS – Your current Windows installation should be operational to launch the installer.
- Sufficient disk space – Have at least 9 GB of free disk storage space available for the upgrade process.
- Compatible installer – Use a Windows installer that matches your current system’s edition, language, and architecture (32- or 64-bit).
How to perform an in-place upgrade install
Here’s a step-by-step guide on how to perform a Windows in-place upgrade:
For Windows 11 (version 23H2 or later):
- Go to Settings > System > Recovery.
- Click Reinstall now under “Fix problems using Windows Update.”
- Follow the on-screen instructions to complete the process.
For Windows 10 or earlier Windows 11 versions:
- Download the appropriate Windows ISO file from Microsoft’s official website.
- Mount the ISO by right-clicking it and selecting Mount.
- Open the mounted drive and run setup.exe.
- Follow the on-screen instructions:
- Accept the license terms.
- Choose Upgrade this PC now and allow updates.
- Select “Keep personal files and apps.”
- Wait for the installation to complete. Your system will restart multiple times during the process.
Post-installation checklist
After completing the upgrade, follow these steps to ensure your system is running smoothly:
- Restore custom settings – Reapply any custom fonts, icons, or settings that may have been reset.
- Reconnect to Wi-Fi – Reenter Wi-Fi credentials if prompted.
- Run Windows Update – Install any pending updates to keep your system current.
- Enable System Protection – Turn on System Protection to create restore points for future recovery.
- Clean up old files – Use Disk Cleanup to remove the Windows.old folder and free up disk space if you’re sure everything’s working properly.
Limitations of an in-place upgrade install
While effective for many issues, in-place upgrade installs may not resolve severe hardware problems (i.e., issues related to failing components) or a heavily corrupted system (i.e., the OS is beyond repair). In such situations, a clean reinstall might be necessary.
Remember: Always back up your important data before making significant system changes. If you’re unsure about performing a Windows in-place upgrade install yourself, consult a professional IT technician. You can turn to us for all your IT needs!
